

How to make these cute burp clothes!!

You will need
*Pre-folded cloth diapers (I used Gerber 3 ply)
*Fabric (I used various Fat Quarters, you can get 2 burp clothes per quarter)
*Heat N Bond (both the ribbon kind for your ribbon and sheet if you are going to make appliques)
*lighter
*sewing machine, thread
First wash your fabric (including the diapers) in hot water and dry. They will fray and may even tangle. I cut all hanging threads before putting in the dryer. Then iron your fabric so there are no wrinkles, this will help with the cutting
If you wish to make appliques you can. For these I chose a pretty print fabric with things that I could cut out. I cut the the Heat N Bond just a smidgen smaller than my fat quarter and then ironed it on the back side of the fabric. Then cut out the parts I liked. If you just want to iron them on and be done with it get Heat N Bond Ultra (RED package). If you want to add that "something special" and stitch the edges, get the Heat N Bond Lite (purple package). They both stick well, but trust me, you don't want to sew or hand stitch the ultra; like sewing plastic! **Make sure you follow the ironing directions on the Heat N Bond packaging!
Also if you have a Cricut Cutter you can use your machine to cut out letters or anything else. I cut out letters for another burp cloth project, SO CUTE!! Just iron the Heat N Bond on to the back of the fabric. Put it on the Mat and go just like you do paper (make sure you change your blade, just like scissors, you don't want to use the blade that you cut paper to cut your fabric, you might set the cutting speed to slow just to help ensure that it doesn't snag)
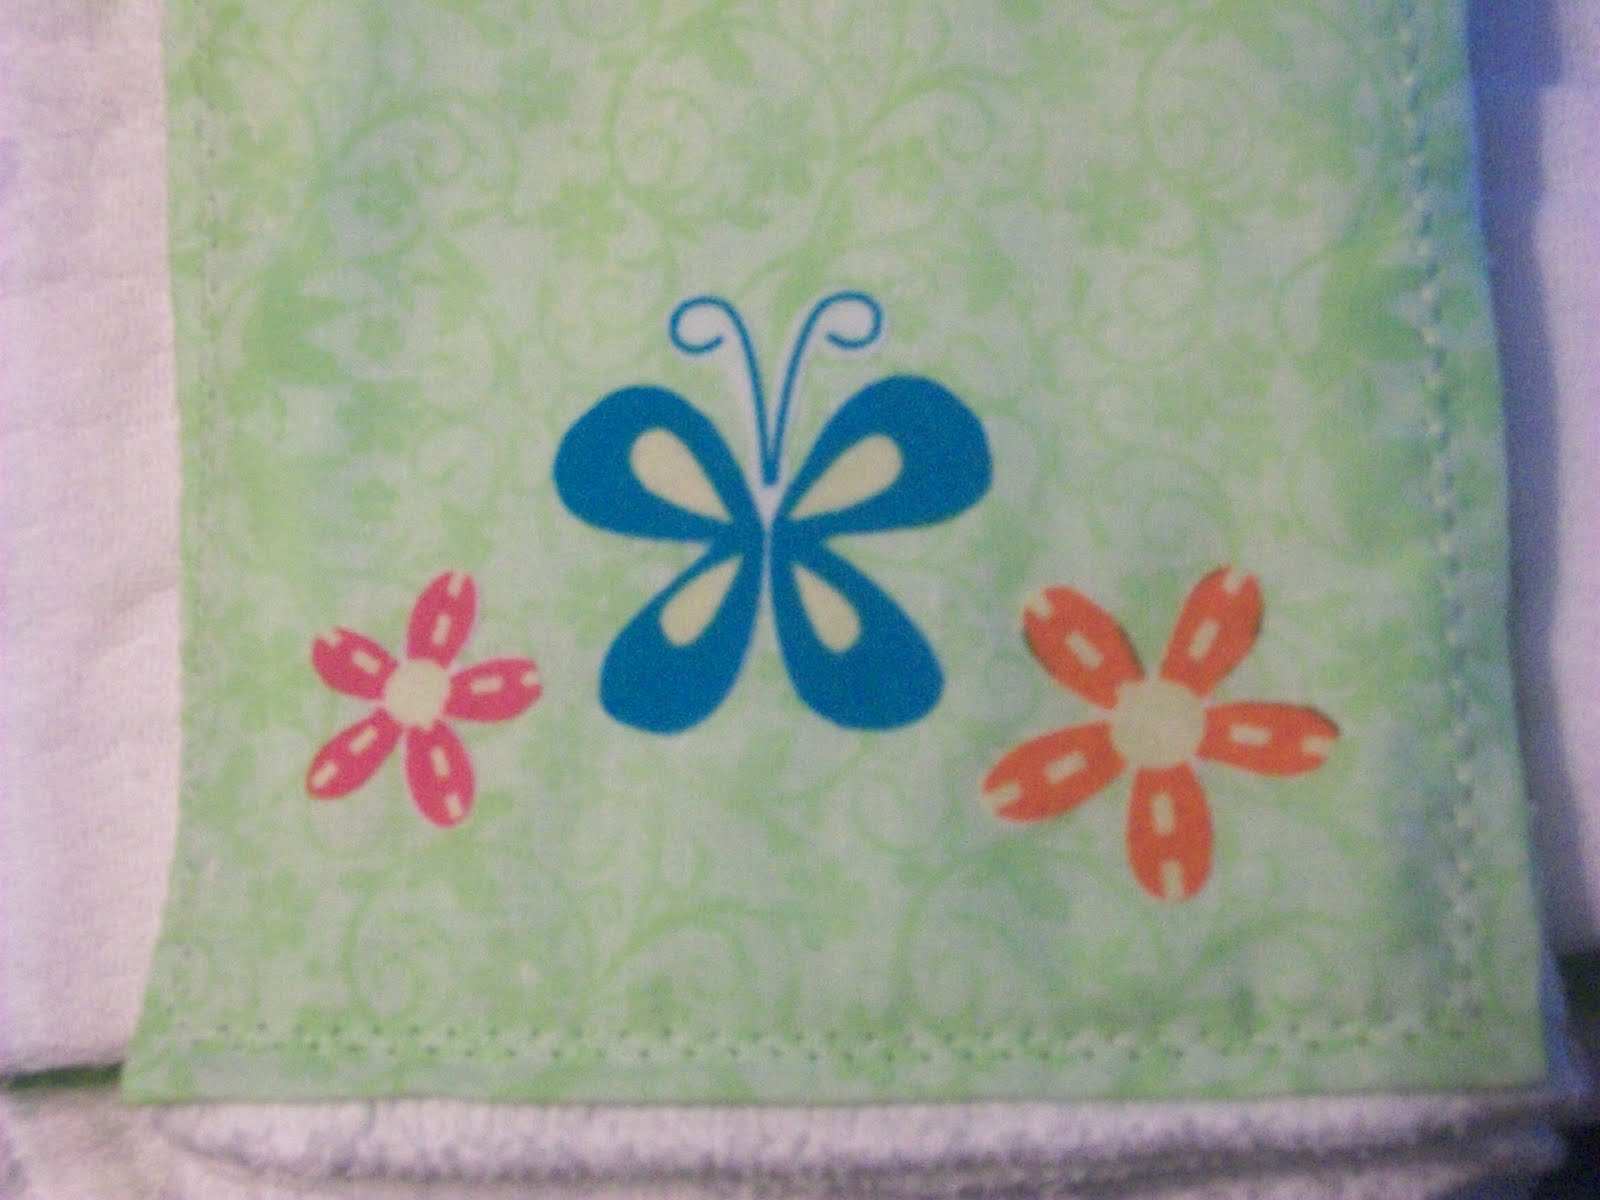
Here are my appliques for this project.

Nowcut the Fabric for the diaper. Though each diaper will be a little different due to shrinkage, a general 18-19 inches long and 6 inches wide should work. So you might want to measure each diaper and cut accordingly.
Then fold and iron a 1/2 inch hem for the length (sides) and about 1/2 to 1 inch for the top and bottom, again according to each individual diaper. It's better to do the sides first then the top and bottom because some times there is a little hang over from the fold, if you do it this way, the ribbon added on later will hide it.


Then arrange and iron your appliques to your fabric, you can do it after you sew it to the diaper, but can be harder to get it to adhere with the thickness of the diaper.


Make sure you remove the paper backing from the applique, LOL
Then pin your fabric to the center thickness of the diaper and align the edges of the fabric with the edges of the thickness; may be some over hang. Align your top and bottom with the ends of the diaper, you might have to take up or let out your hem depending how long you cut it. Then sew on to the diaper. Align the edge of the fabric with the edge of your pressure foot (as seen below)

I positioned the needle to the right of the foot and set the stitch to zigzag and no bigger than stitch size 3, any bigger and the ribbon won't hide the stitching(which I need, because I am horrible at sewing a straight line), any smaller and it might not get the edge of your fabric. I sewed all the way around the fabric edges(ended where I started), but you can just sew one side, then the other, and then the ends if you wish. Make sure you back stitch where you start and end!
Should look like this.
Should look like this.
Now to the ribbon, you can use any you want, as long as you can iron it, but I suggest not anything smaller than 3/8, any smaller and it gets really tricky. You can sew your ribbon if you wish (and you are a wizard on a sewing machine), but I can't sew a straight line to save my life, so that's why I use (and LOVE) Heat N Bond.
Measure your ribbon the length from one end to the other. (with this particular ribbon I had to give a little extra because it shrunk up a little when I ironed on the Heat N Bond and was shorter than when I started, you might need to experiment). Once you cut your ribbon, use the lighter to melt the ends of the ribbon so they won't fray. DON'T touch the ribbon to the flame, it will but blacken the ends on your lighter colored ribbon. You want to get it just close enough so that you see the end melt back a little. Then take the ribbon Heat N Bond, cut it to length and iron on the back side (if there is one) of the ribbon. ** with this particular ribbon I had to apply 2 strips of the Heat N Bond because the first strip absorbed into the ribbon, and when I applied it to the fabric, it came right off, so again you might have to experiment with what you have to see what works. It did stick beautifully with the second strip!

Once you have the Heat N Bond applied to the ribbon, remove the paper backing and iron it along the edges of the fabric, covering your stitches.
Congrats, you have now made a beautiful, one of a kind burp cloth. I have made several for friends and family that are expecting and intend on making more for myself in the future!

FYI You can make your own labels too if you wish. Just put some Heat N Bond on some fabric, cut it to the shape and size you wish. Use fabric markers to write your name, etc. Then apply. I put mine on the other side of the diaper and even stitched the edges for that "something special" REMEMBER these are hand made, not professional, so don't be too picky and have fun, the more "You" you put into them, the more beloved they will be!
No comments:
Post a Comment